
Voice Design
Describe the voice you want,
generate a voice of your own
Describe the voice you want for your script. Specify its character, age, tone, and delivery, then listen to the generated speech and revise the description as needed.
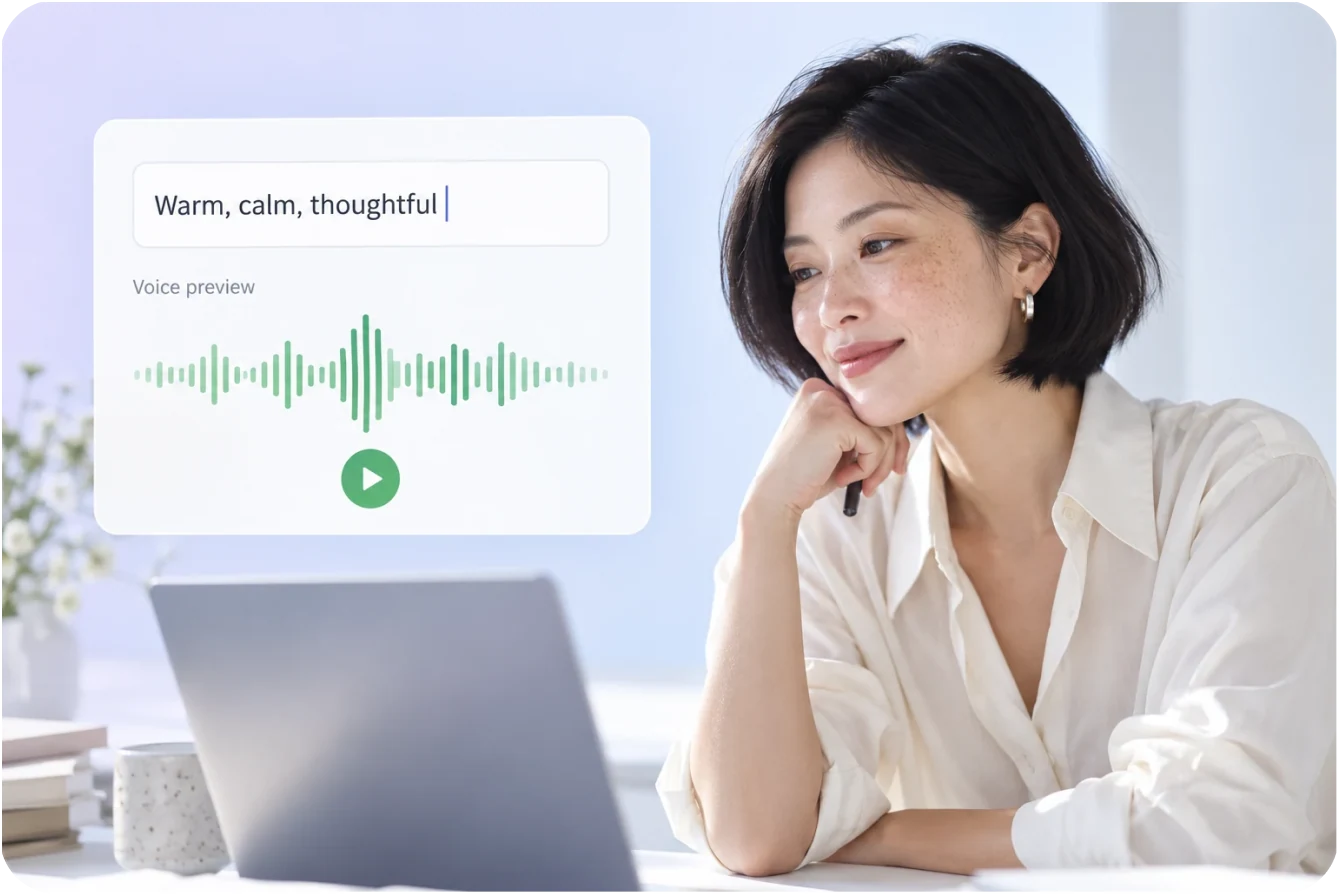
Start from a description and create a new voice
Save a voice you like and call it up again
The voiceover goes into the project and is adjusted with the picture
Let the character of the content
be heard from the first line.
Explaining, introducing a product, or letting characters in a story speak. Know the feel of the voice first, then describe it.
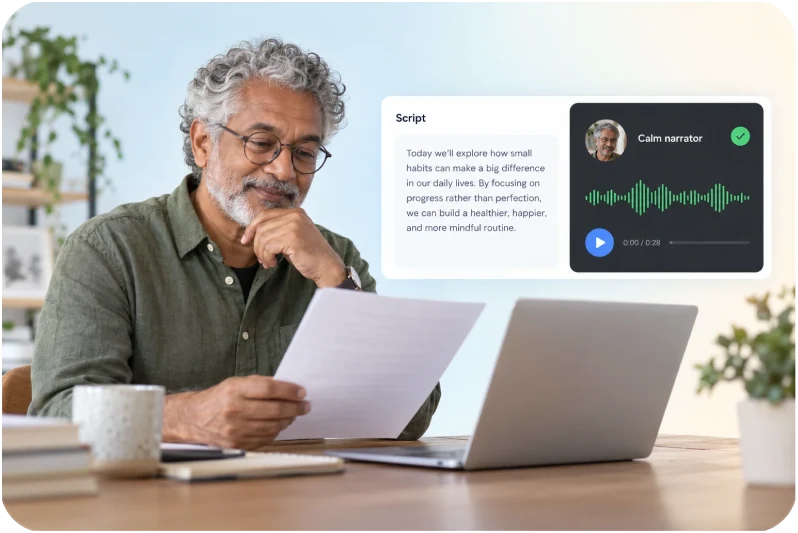
Talking-head and knowledge content
Describe the feel the narration needs, steady for explaining or light and quick for tips.
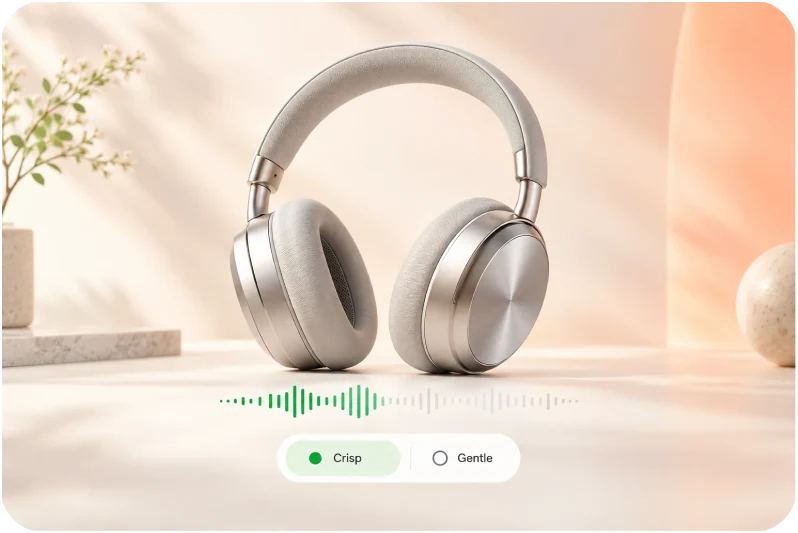
Ecommerce and product videos
Each category gets a voice that suits it, crisp for tech and gentle for baby and home.
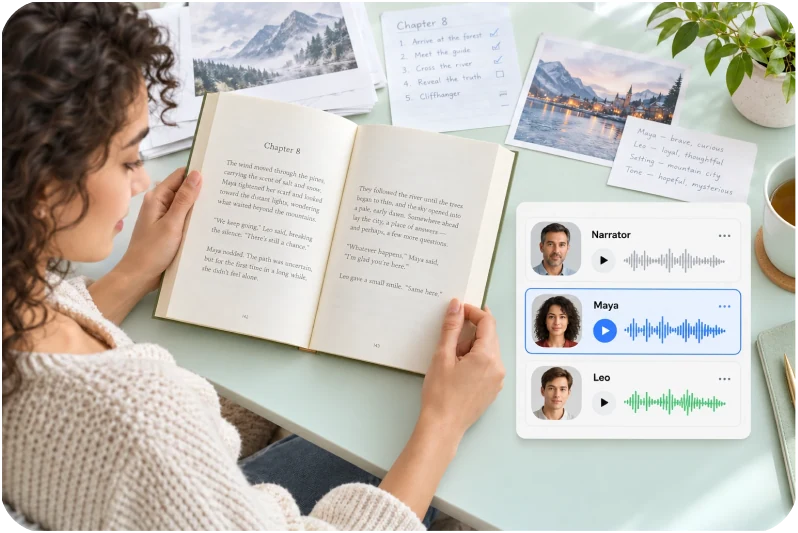
Story and audiobook content
Every character carries its own voice, so a listener can tell who is speaking.
Turn “the voice I want”
into a voice you can keep using.
Describe it first, fine-tune it after. Save the version that works and let the next video keep the same sound.
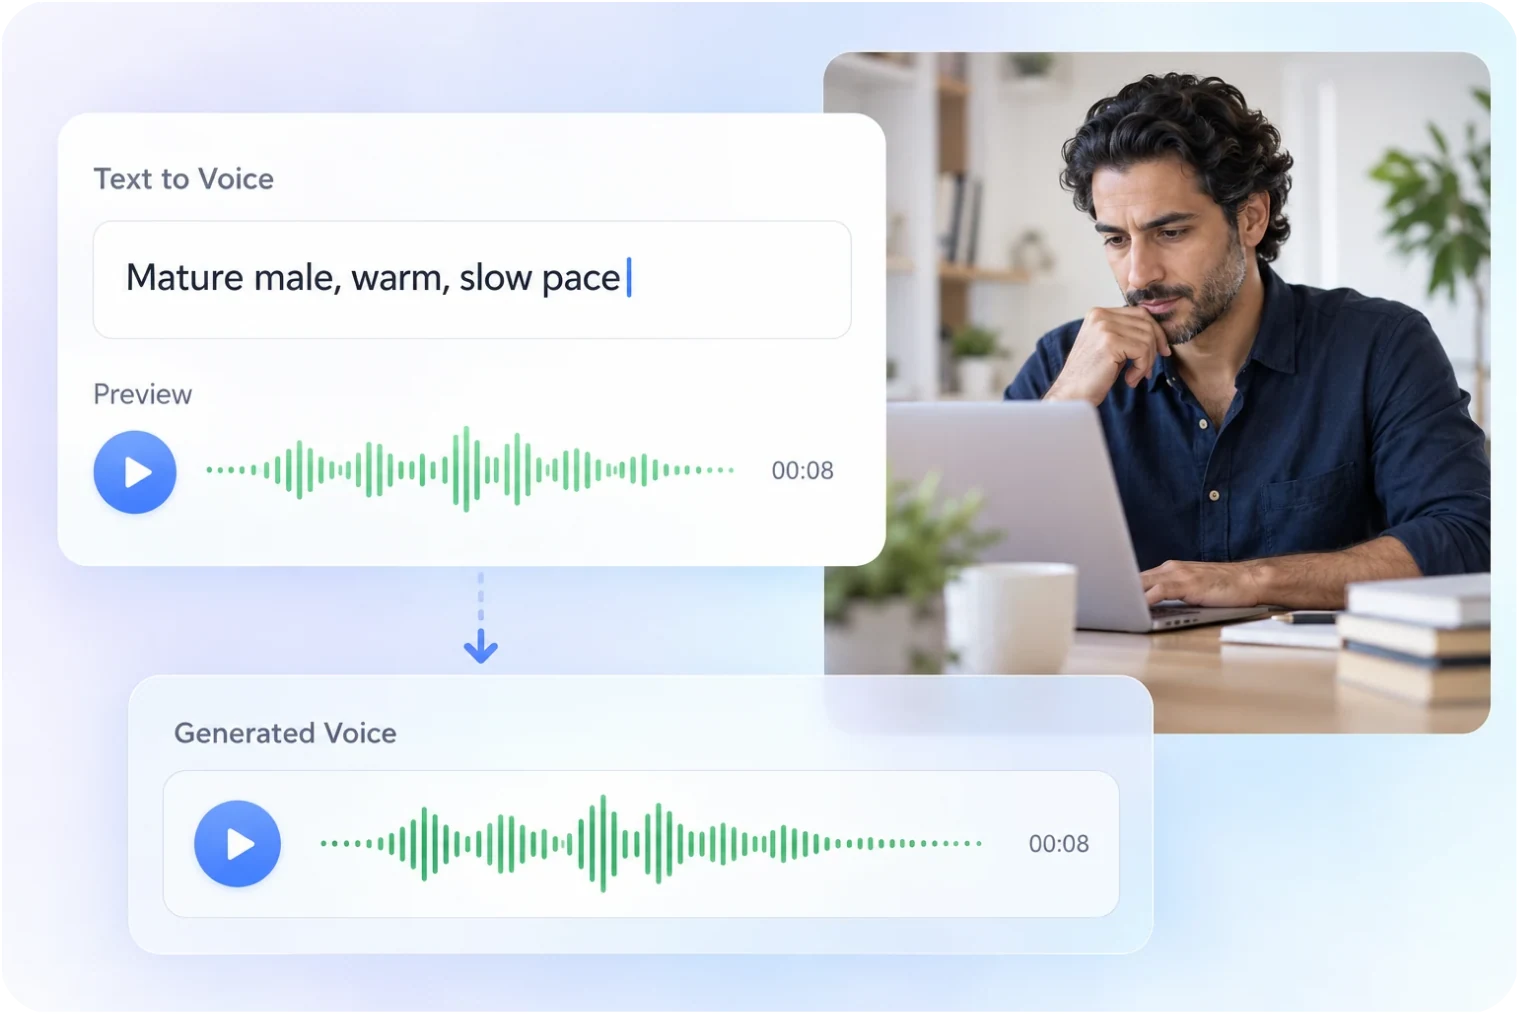
Generate From a Description
Describe the gender, age, accent, and character in words, and generate the matching voice.
Try describing a voice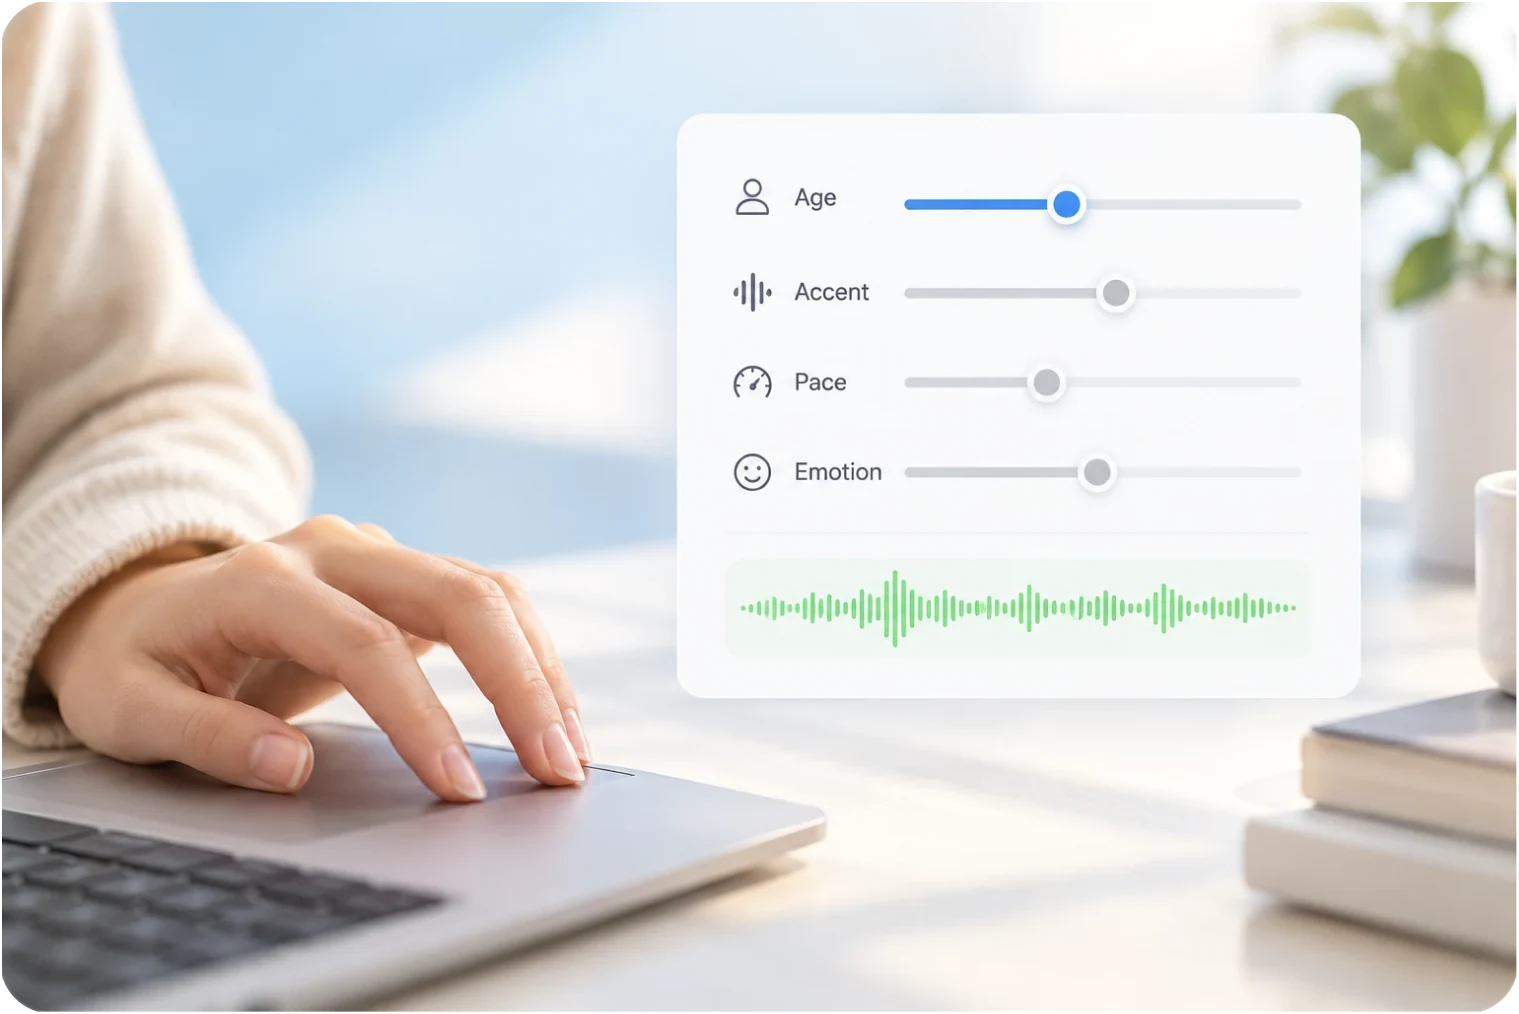
Voice Parameters
Age, accent, pace, and emotion can each be adjusted on their own without rewriting the description.
Open the parameter demo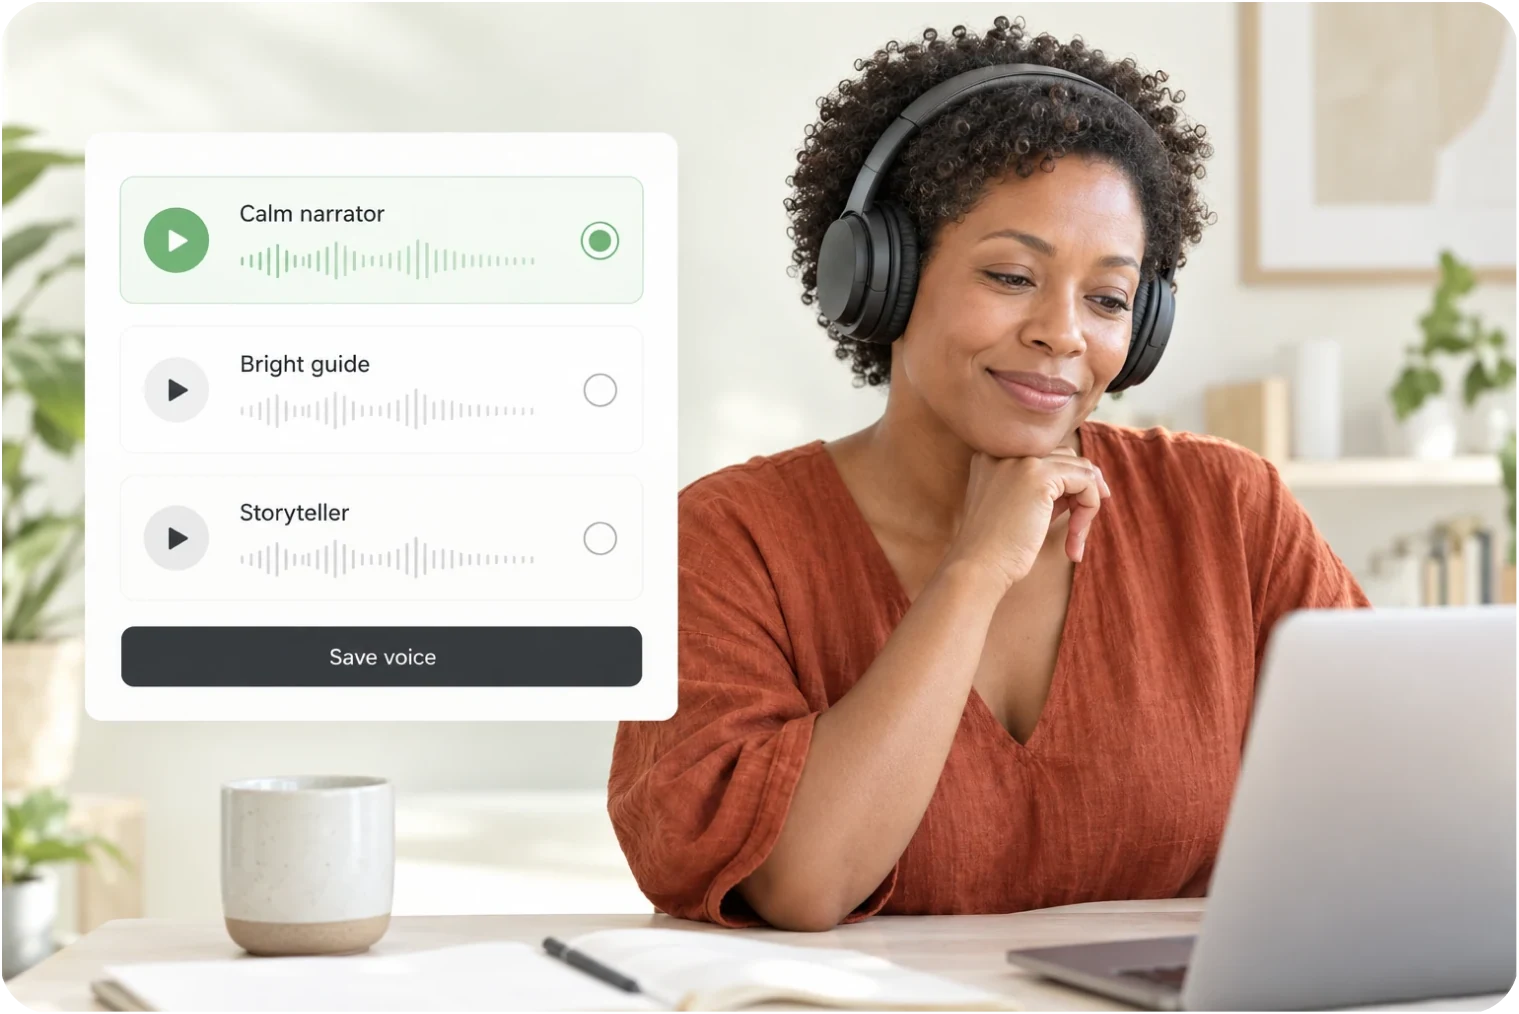
Personal Voice Library
Name and save the voices that work, then call them up in any project without describing them again.
See the demo voice library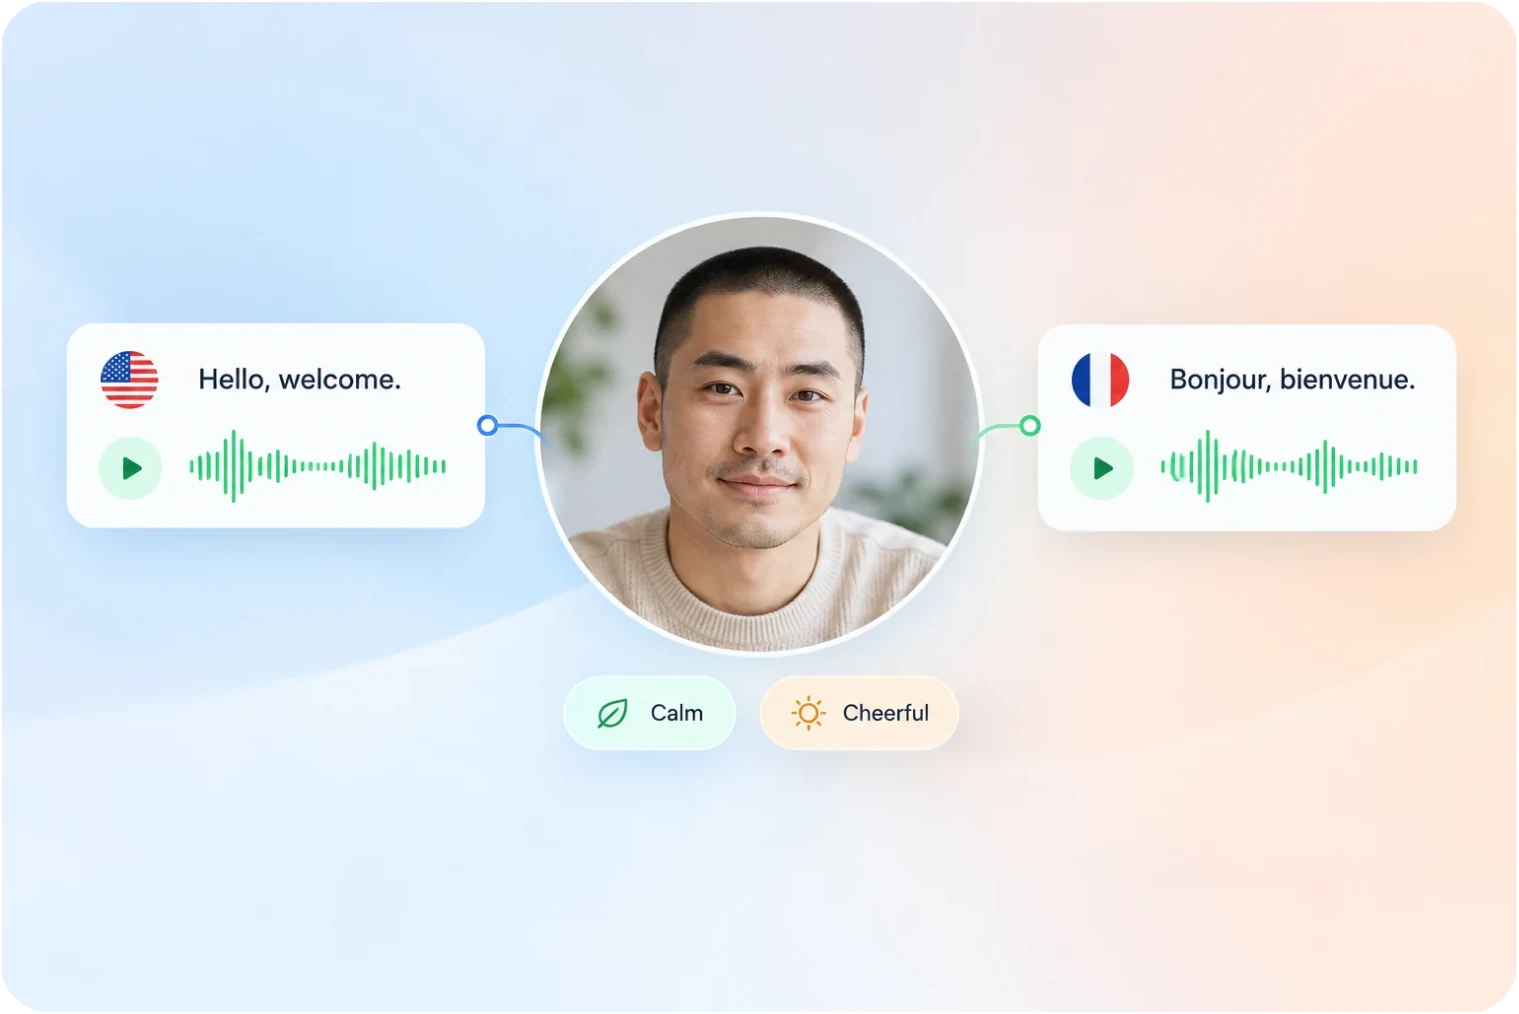
Languages and Emotions
The same voice reads copy in other languages and other emotions, and still sounds like one person.
Try the reading settingsFrom a description
to the voice in the project.
Listen, adjust, save. Four steps to put the voice you imagined to work in the content.
Describe the voice
Write down what it should sound like: gender, age, pace, character.
Generate and listen
Generate the voice and play it back, then rewrite the description if it misses.
Save the voice
Name and save the voices that work, then call them up in any project without describing them again.
Use it in the project
Type your copy, generate the voiceover, and align it with the picture.
A voice is not a one-off that disappears after use.
Creating, saving, and calling up a voice all happen in one account. The voiceover goes straight into the project, where you can adjust it with the picture and captions.
CREATE
Create a voice for the content
Describe the feel you want, instead of searching the library for a voice that fits.
KEEP
Save what works and keep using it
The personal library keeps the voices that work, so several videos share the same sound.
EDIT
Voice and picture aligned in the project
The voiceover goes straight into the project to be adjusted with the picture and captions.
Frequently asked questions
On descriptions, saving, and how voice design differs from cloning.
Does a more detailed description help?
The more specific it is, the closer you get. Gender, age, pace, and character can all go in.
Can I save a voice I like?
Yes. Saved voices can be called up later without describing them again.
How is this different from voice cloning?
Voice cloning copies a voice you already have from a recording. Voice design creates a new voice from a description.
Can one voice be used across several videos?
Yes. A saved voice can be reused so several videos share the same sound.
Do I need a reference recording?
This workflow starts with a written voice description. Use voice cloning when you want to work on a recording.
Can I fine-tune the result?
Revise the description and review another result. Speech speed and volume can also be adjusted.
As many characters as a video has,
that is how many voices it gets.
Describe each one, and Aixcut generates them separately.